The Poor Bluesman
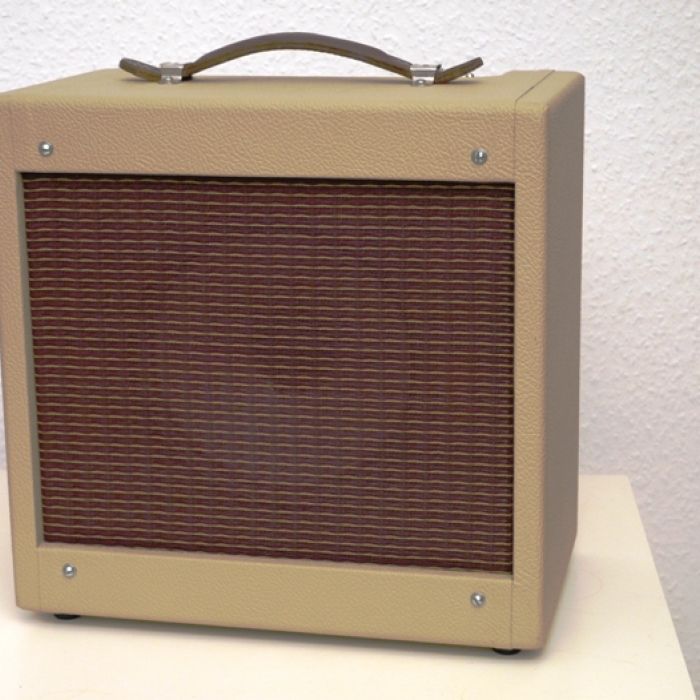
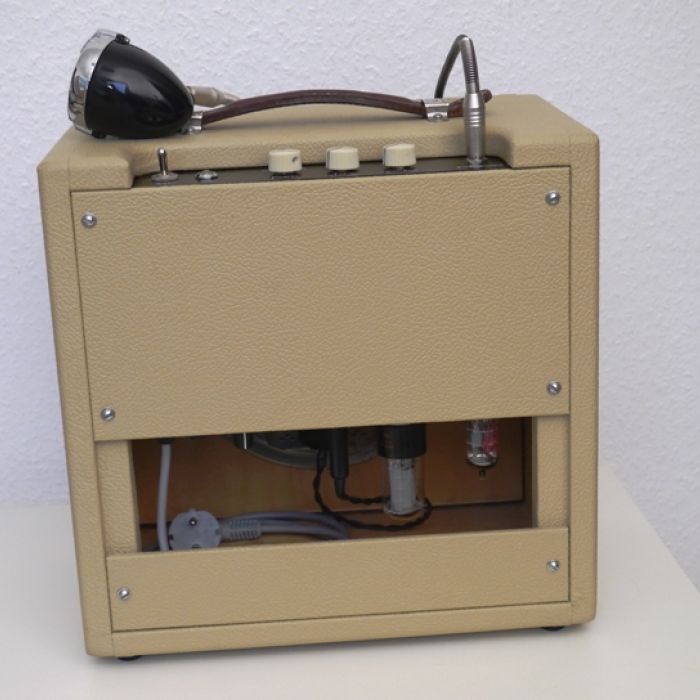
If you need a cheap amplifier for harp, buy a chinese Champ and modify it. If you want to build a little boutique amp of your own, you can build a Poor Bluesman. There are 1001 ways to do this, use old parts, find a vintage speaker, design your own cabinet.
The latest version
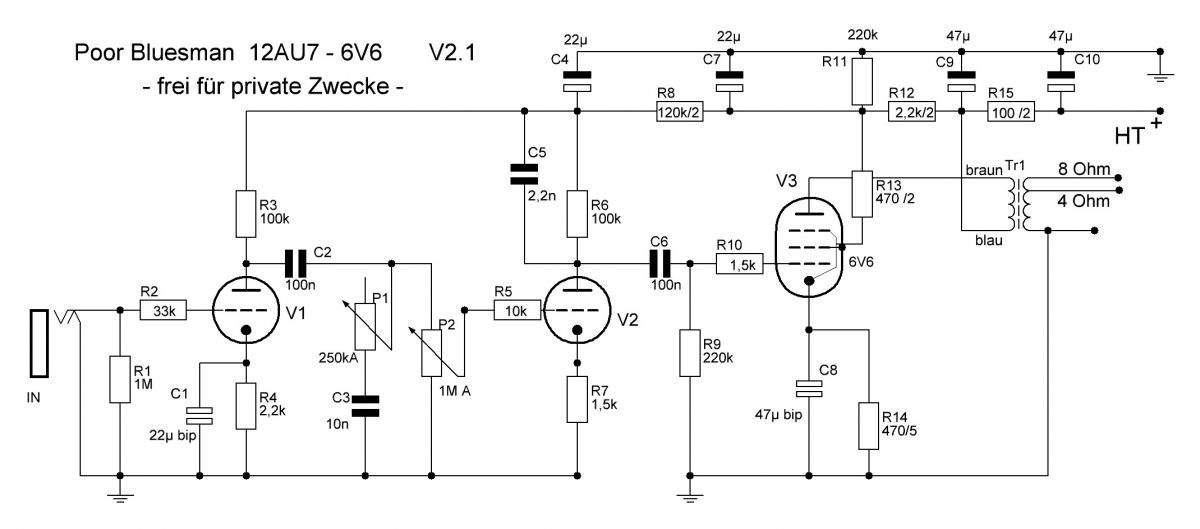
This version will remain here, the old versions aren't online any more. The main difference in this last version is the 12AU7 in V1, you can also use a 12AY7. There is no NFB loop and the brigtcap of the tweed tone control is removed. 250k log for the tone pot is plenty. If you want the sound darker, take a 22n for C3.
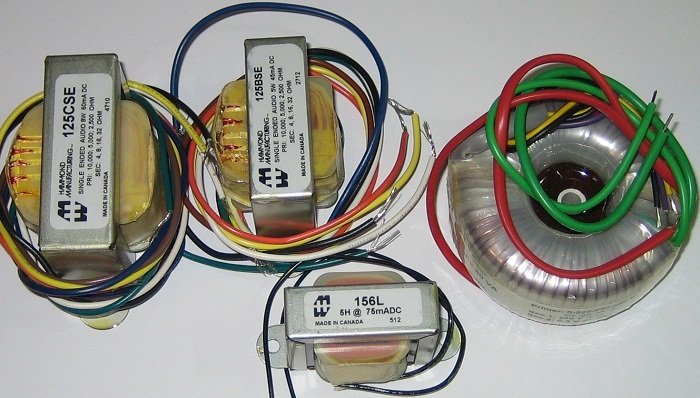
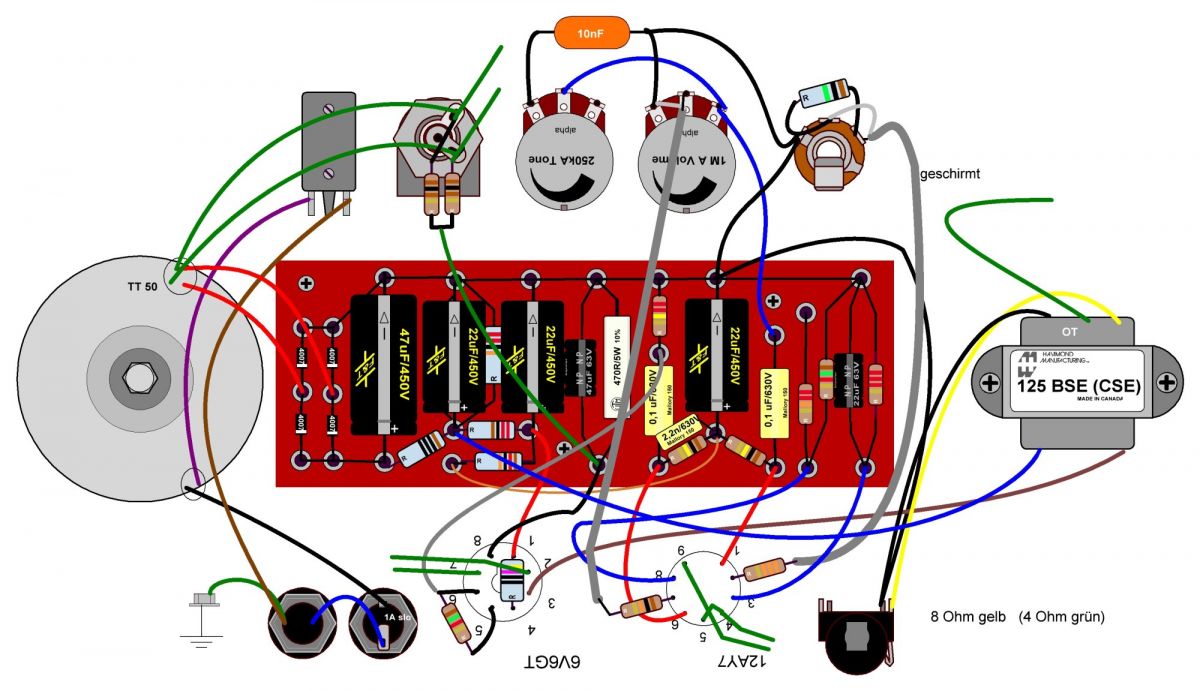
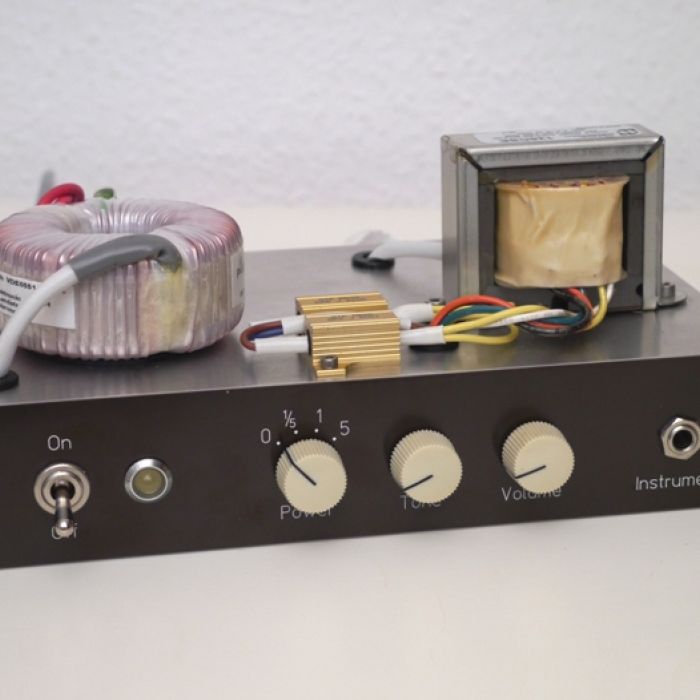
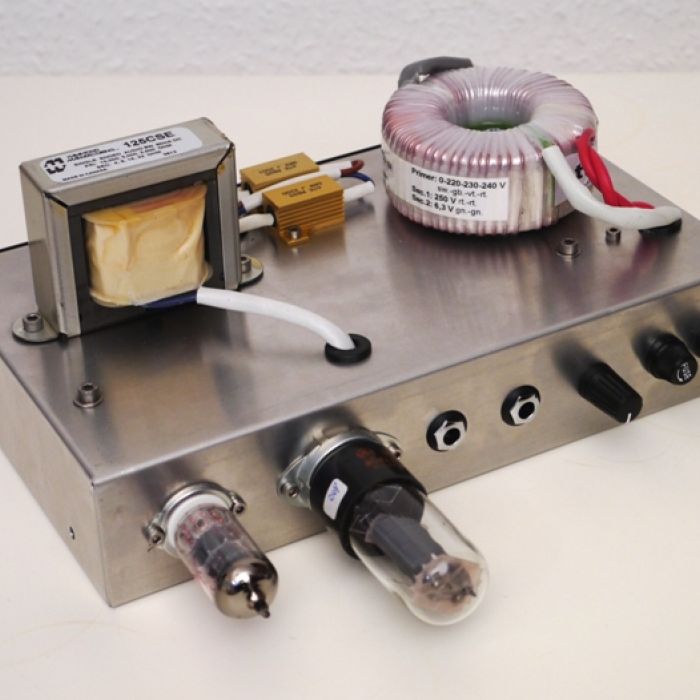
Because it is a SE amp, a tube rectifier doesn't make sense, the 1N4007 brings us some more power for the tube. There is a strong, lightweight and cheap transformer for this project, the TT T50 from TubeTown. For OT I would use the Hammond 125BSE (or CSE), who wants the circuit absolutely quiet can add a Hammond 156L choke.
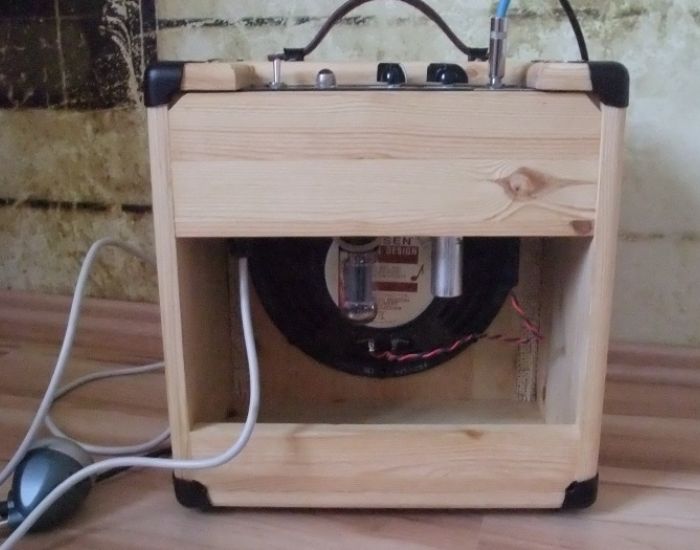
Now it's up to the speaker, an important part of the amp that defines the actual size of the cabinet and also the basic sound. Since a 10" does not really cost more than an 8", I would rather take the 10" if I only had one amp. But because my Poor Bluesman should stay small and light, a 8" comes in. I used a Weber Ceramic because I had one. If you need to buy one (please do not save here) pick up the WGS G8C.
The chassis
The metal housing of a vintage amp is called chassis. For DIY this is often the biggest hurdle.
As a chassis, the Hammond 1444-20 offers all you need. It is not expensive and can be cut with a simple hacksaw and used wooden cheeks to the required length. Alternatively, you can also turn a corresponding "U" from 2mm aluminum sheet. Which is more stable.
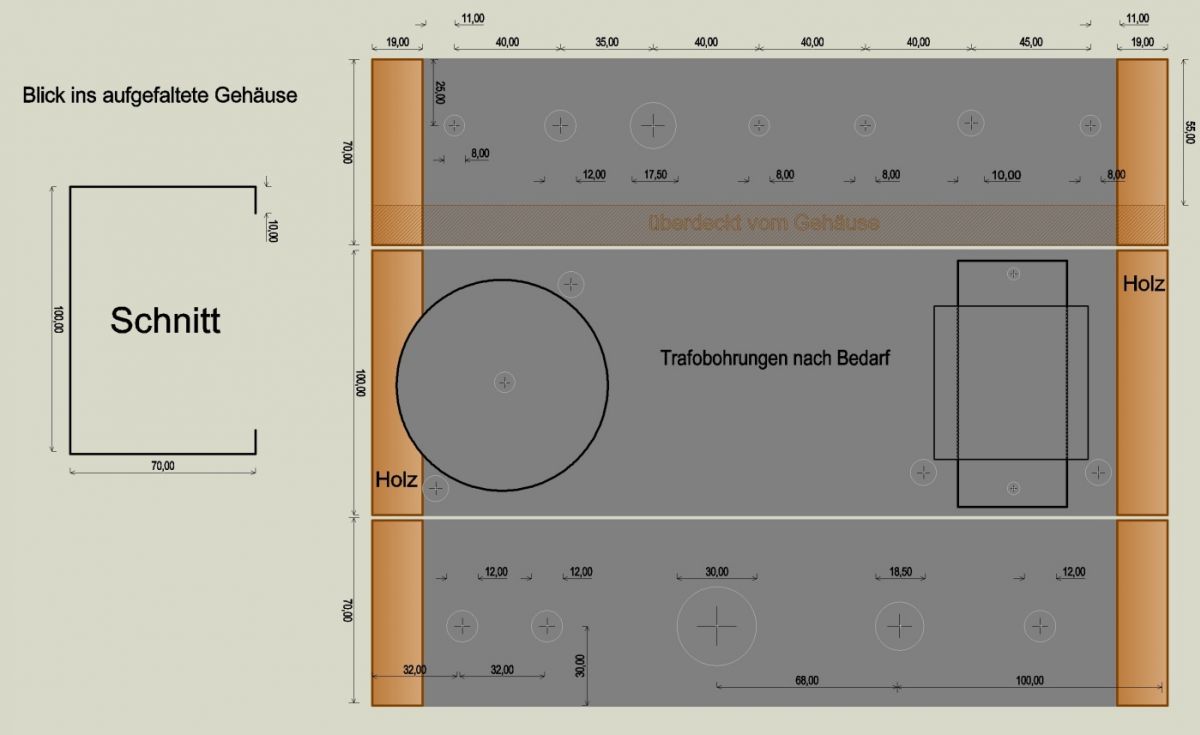
The exemplary sketch might not be perfect. The values on the front panel are quite reasonable, the back and the side can be drilled by eye. I've also drawn by eye.
Please use common sense at work and be careful at the perspective. Imagine, the chassis is opened and you can see all three sides from the inside. the transformers can't be seen actually. When drilling a continuously variable cone drill and countersink is recommended with three blades in the main sizes. Then, the plate does not bend in the processing.
The drill holes are designed for 24mm alpha potis, Belton fittings, open Neutrik socket at the input, isolated Neutrik jack for the speaker, 12mm switches, 12mm fuse holder, 12mm power chord nozzles, 17.5mm Jewel Light.
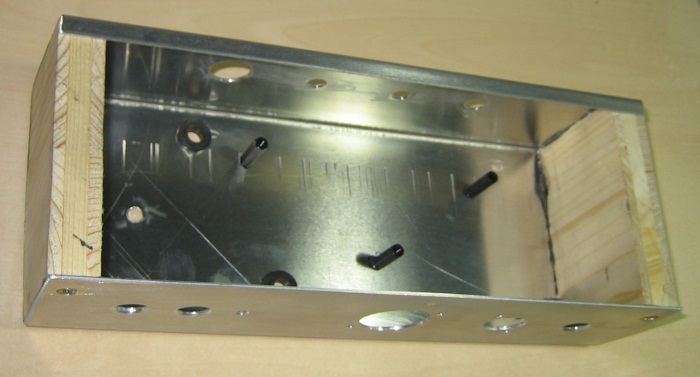
The chassis shown on the right side is somewhat different - there is no switch - it is in the volume control like the Champs (which could be a problem by the CE standard). One sees the rubber bushings and spacers for the motherboard. The small hole below is for the ground.
The board
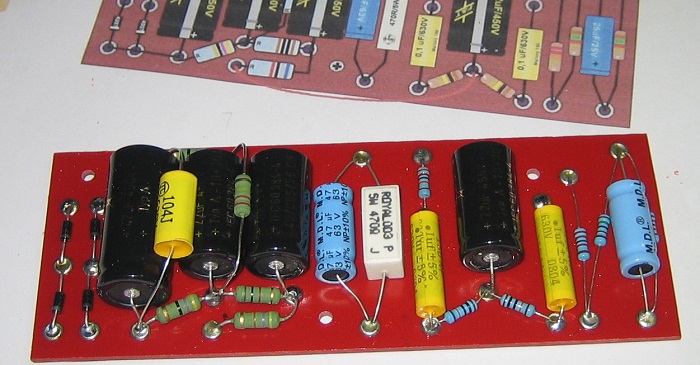
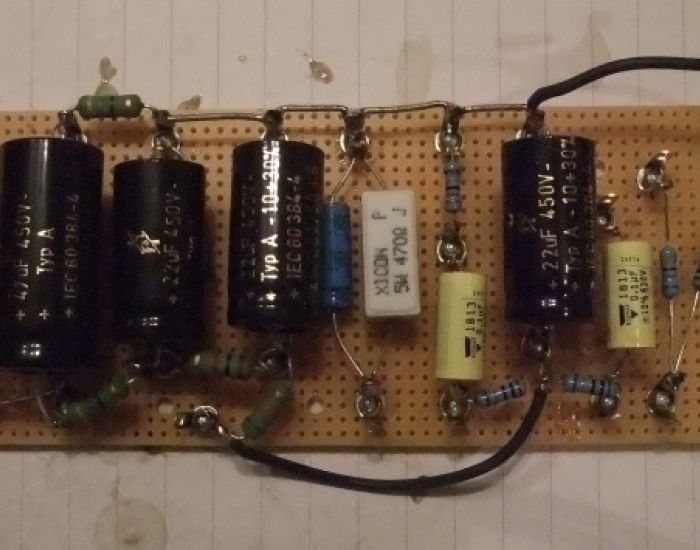
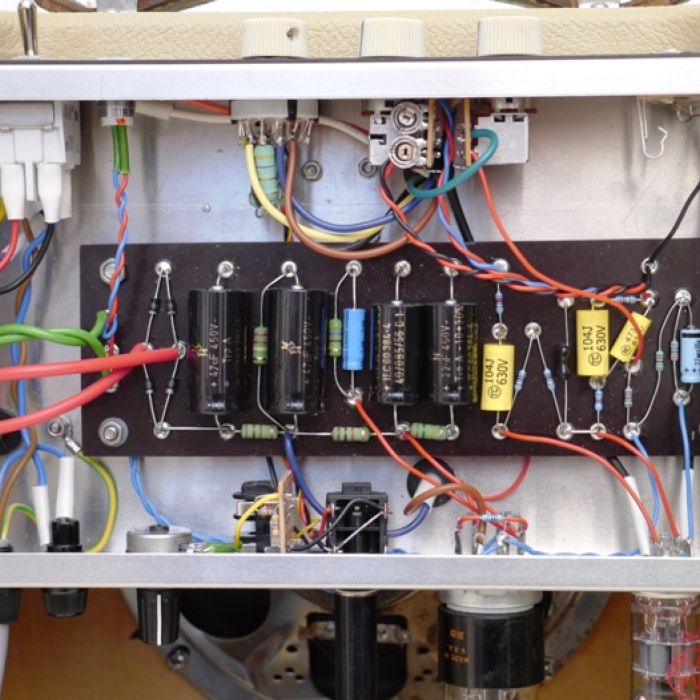
A tube amplifier only needs a few components. These can be soldered directly to the tube sockets and solder terminals (real PTP), or you craft a kind of circuit board. I always do my (vintage type) boards in a way that all connections and components are on the top. This way, you can always see the circuit and if necessary make changes.
As a material for the board GFK or Pertinax 160x60 and 2mm strong is recommended. Paste the image in a word-processing software (scaled to 160x60) and print it. Fix this drill template with tape and work with a 3.2mm drill. Stuck 3mm eyelets in the holes and rivet it from below. Then solder the components. The picture still shows a Board V1.2.
The wiring depends somewhat on the circumstances - here is an example. The switch only disconnects one-sided, better is a complete separation (neccesary in germany). The OT is here wired for 8 ohms, as in the plan above. The chassis contact takes place via the input jack.
Completely assembled
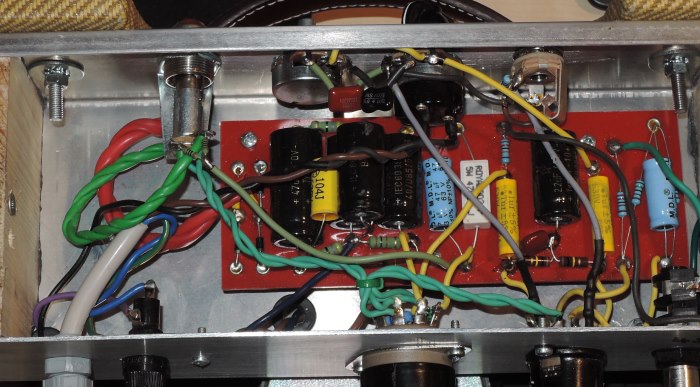
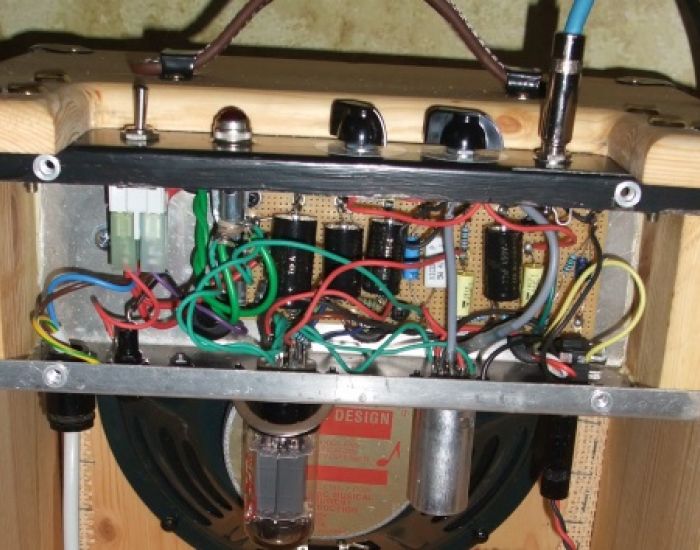
And this is how my Poor Bluesman looks from the inside. The switch is integrated in the volume control as in the 54 'Champ.
Although everybody can build the Poor Bluesman as wanted, please check the ground and voltage! Here are a few clues:
- Anode 6V6: 320 - 330V,
- Grid 6V6: 310-325V,
- Kathode 6V6: ca. 19V
The arrangement of the transformers is pretty free, it has to fit into the case to ensure a balanced weight distribution. But there is little leeway to it.
Faceplate
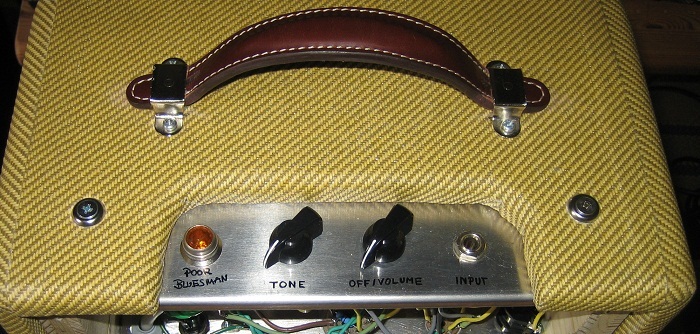
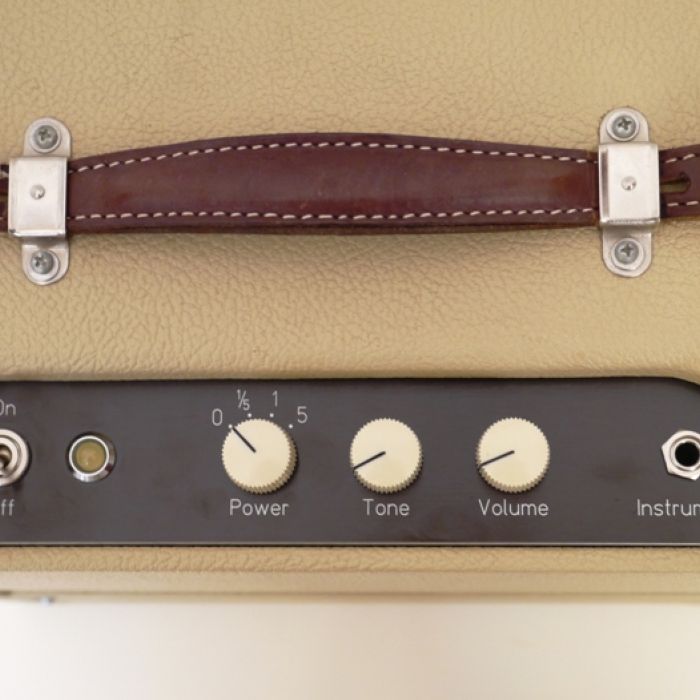
Designing the faceplate can be artful. Adhesive foil, decals, blow letters, milling, lasers ..... I've chosen a very simple solution. Good luck with the build of your Poor Bluesman!
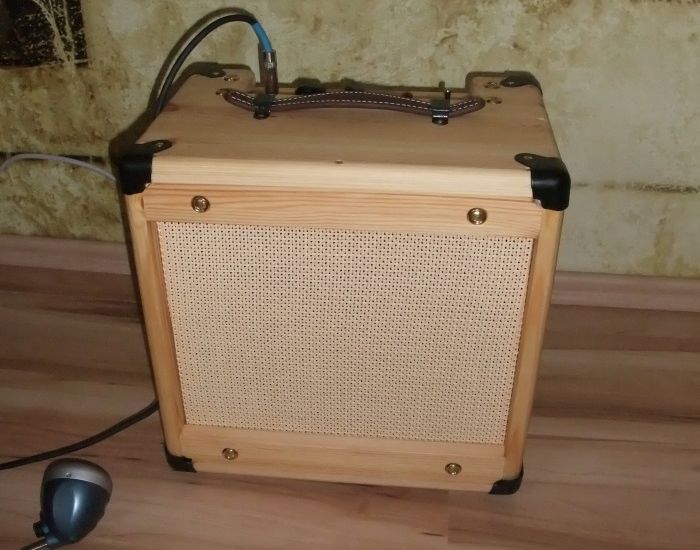
I didn't talk much about the cabinet, just take a China Amp as the basis and build around it. If you want to build all of the amp by yourself, take a look at the guide of the Bluesman SE.
Axels version
The first replica of the "Poor Bluesman". Axel was very happy with the sound. I catched a detail, the rivet....I'll memorize that!
Jürgens version
This amp is build very well and also photographed in an appealing way. Just let the images appear to you.

